Resize before tuning quality
A photograph that is 6000 pixels wide should not rely on compression alone if it is displayed at a fraction of that size. Use Image Resizer first to remove unnecessary pixels, then tune encoding quality.
Know the content type
Photographs tolerate lossy compression differently from diagrams, screenshots, logos, and text-heavy graphics. Flat-color graphics may show ringing or smearing around sharp edges at aggressive lossy settings. Transparent assets also constrain format choices.
Judge at 100% display size
Zooming to 400% makes tiny artifacts look catastrophic; shrinking the preview can hide them completely. Compare the original and compressed result at the dimensions users will actually see, including a high-density screen when relevant.
Watch edges and gradients
Compression artifacts often appear first around text, high-contrast edges, skin detail, and smooth gradients. These regions are better test areas than a noisy background where changes are hard to notice.
Measure the real gain
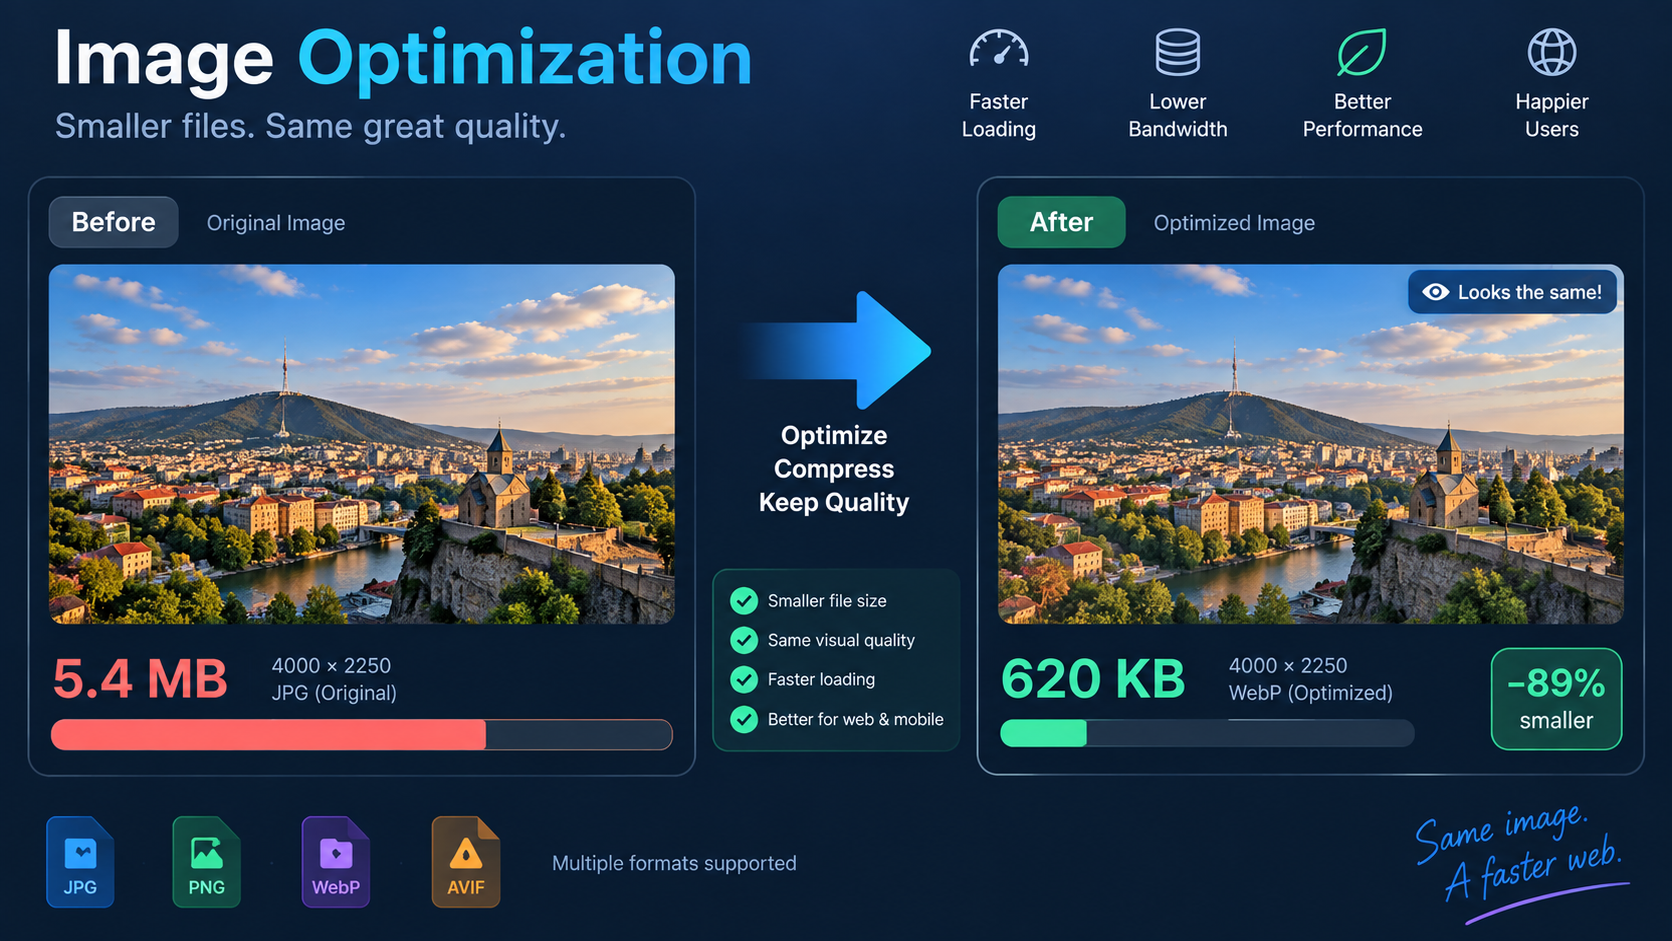
Use Image Compressor and compare before/after bytes. A tiny additional reduction is rarely worth a visible quality drop. If the file is still too large, revisit dimensions or choose a more suitable image format rather than pushing one quality slider to an extreme.
Keep an original master
Optimization is often lossy. Keep the best source separately so future redesigns can create new sizes without repeatedly recompressing an already degraded export.
FAQ
Does compression change image dimensions?
It can, depending on the tool, but compression and resizing are conceptually different. Check both pixel dimensions and file size after export.
Why does a screenshot look worse than a photo at the same setting?
Sharp text and flat UI edges make lossy artifacts more visible. Content type affects how much compression is acceptable.
Practical next step
Use Image Compressor after resizing, and stop when further byte savings become visible damage.
Build an optimization budget
Instead of compressing every image until it “looks small,” set a rough byte budget by role: hero image, card thumbnail, inline screenshot, avatar, and so on. A budget gives designers and developers a shared target and makes regressions visible. The right numbers depend on the site, connection profile, image count, and performance goals, so measure real pages rather than copying a universal threshold.